ARTICLE
Tessl Admin Guide: Organizations, Workspaces, and Roles
Learn to manage Tessl Organizations, set up Workspaces, and define Roles. Follow our guide to optimize team collaboration. Start your journey now!

Shawn Miller
Just signed up to Tessl? Wondering next steps to rolling Tessl out to your team? The following article will take you through the steps of managing your top level Organization, invite your users, set policy items, then create your workspaces, assigning membership to those workspaces and defining their roles.
How Organizations and Workspaces work in Tessl
Organizations are top level entities, often representing the billing or corporate entity, with a subcategory called Workspaces that provide role-based access to the various users across the company.
Setting up your Tessl Organization
Organizations are sometimes created during the presales phase of acquiring Tessl, or may be created later. If one has not been created, it will be auto created when you create your first workspace. If prompted, click Create workspace and name it after your team (i.e. YourCompanyName-Engineering) to start.
Note workspace names must be unique at this time, and will appear in plugin-names when searched. This is most notable if the plugins are published publicly.
The workspace should now be visible from the main interface
The organization can now be observed by clicking your Account, where your name is displayed, on the bottom left
Once created, navigate to Settings for your Organization, rename the organization to your company name and specify if users can publicly share skills by enabling the button.
Creating and managing Users in Tessl
Next, invite users to your organization, by navigating to the Organization’s Members menu, assigning the workspaces the users will have access to. Users will be created with the members role, able to see, search and install skills from the chosen workspaces. Permissions can be promoted from the Workspace Members menu, which will be discussed later below. Users will need to accept the invite they are sent.
Once created, you can elevate a user to Admin to allow workspace creation or manage users. To do so, navigate to the Organization Members screen, and click the three dots under Actions. Assign an appropriate role. Examples will be provided below of some common configurations.
Admin keys
Admin keys are for integrations and applications where programmatic access is required across workspaces. This is typically used for automation purposes and an expiration can be set up to one year.
Managing Workspaces and Users in Tessl
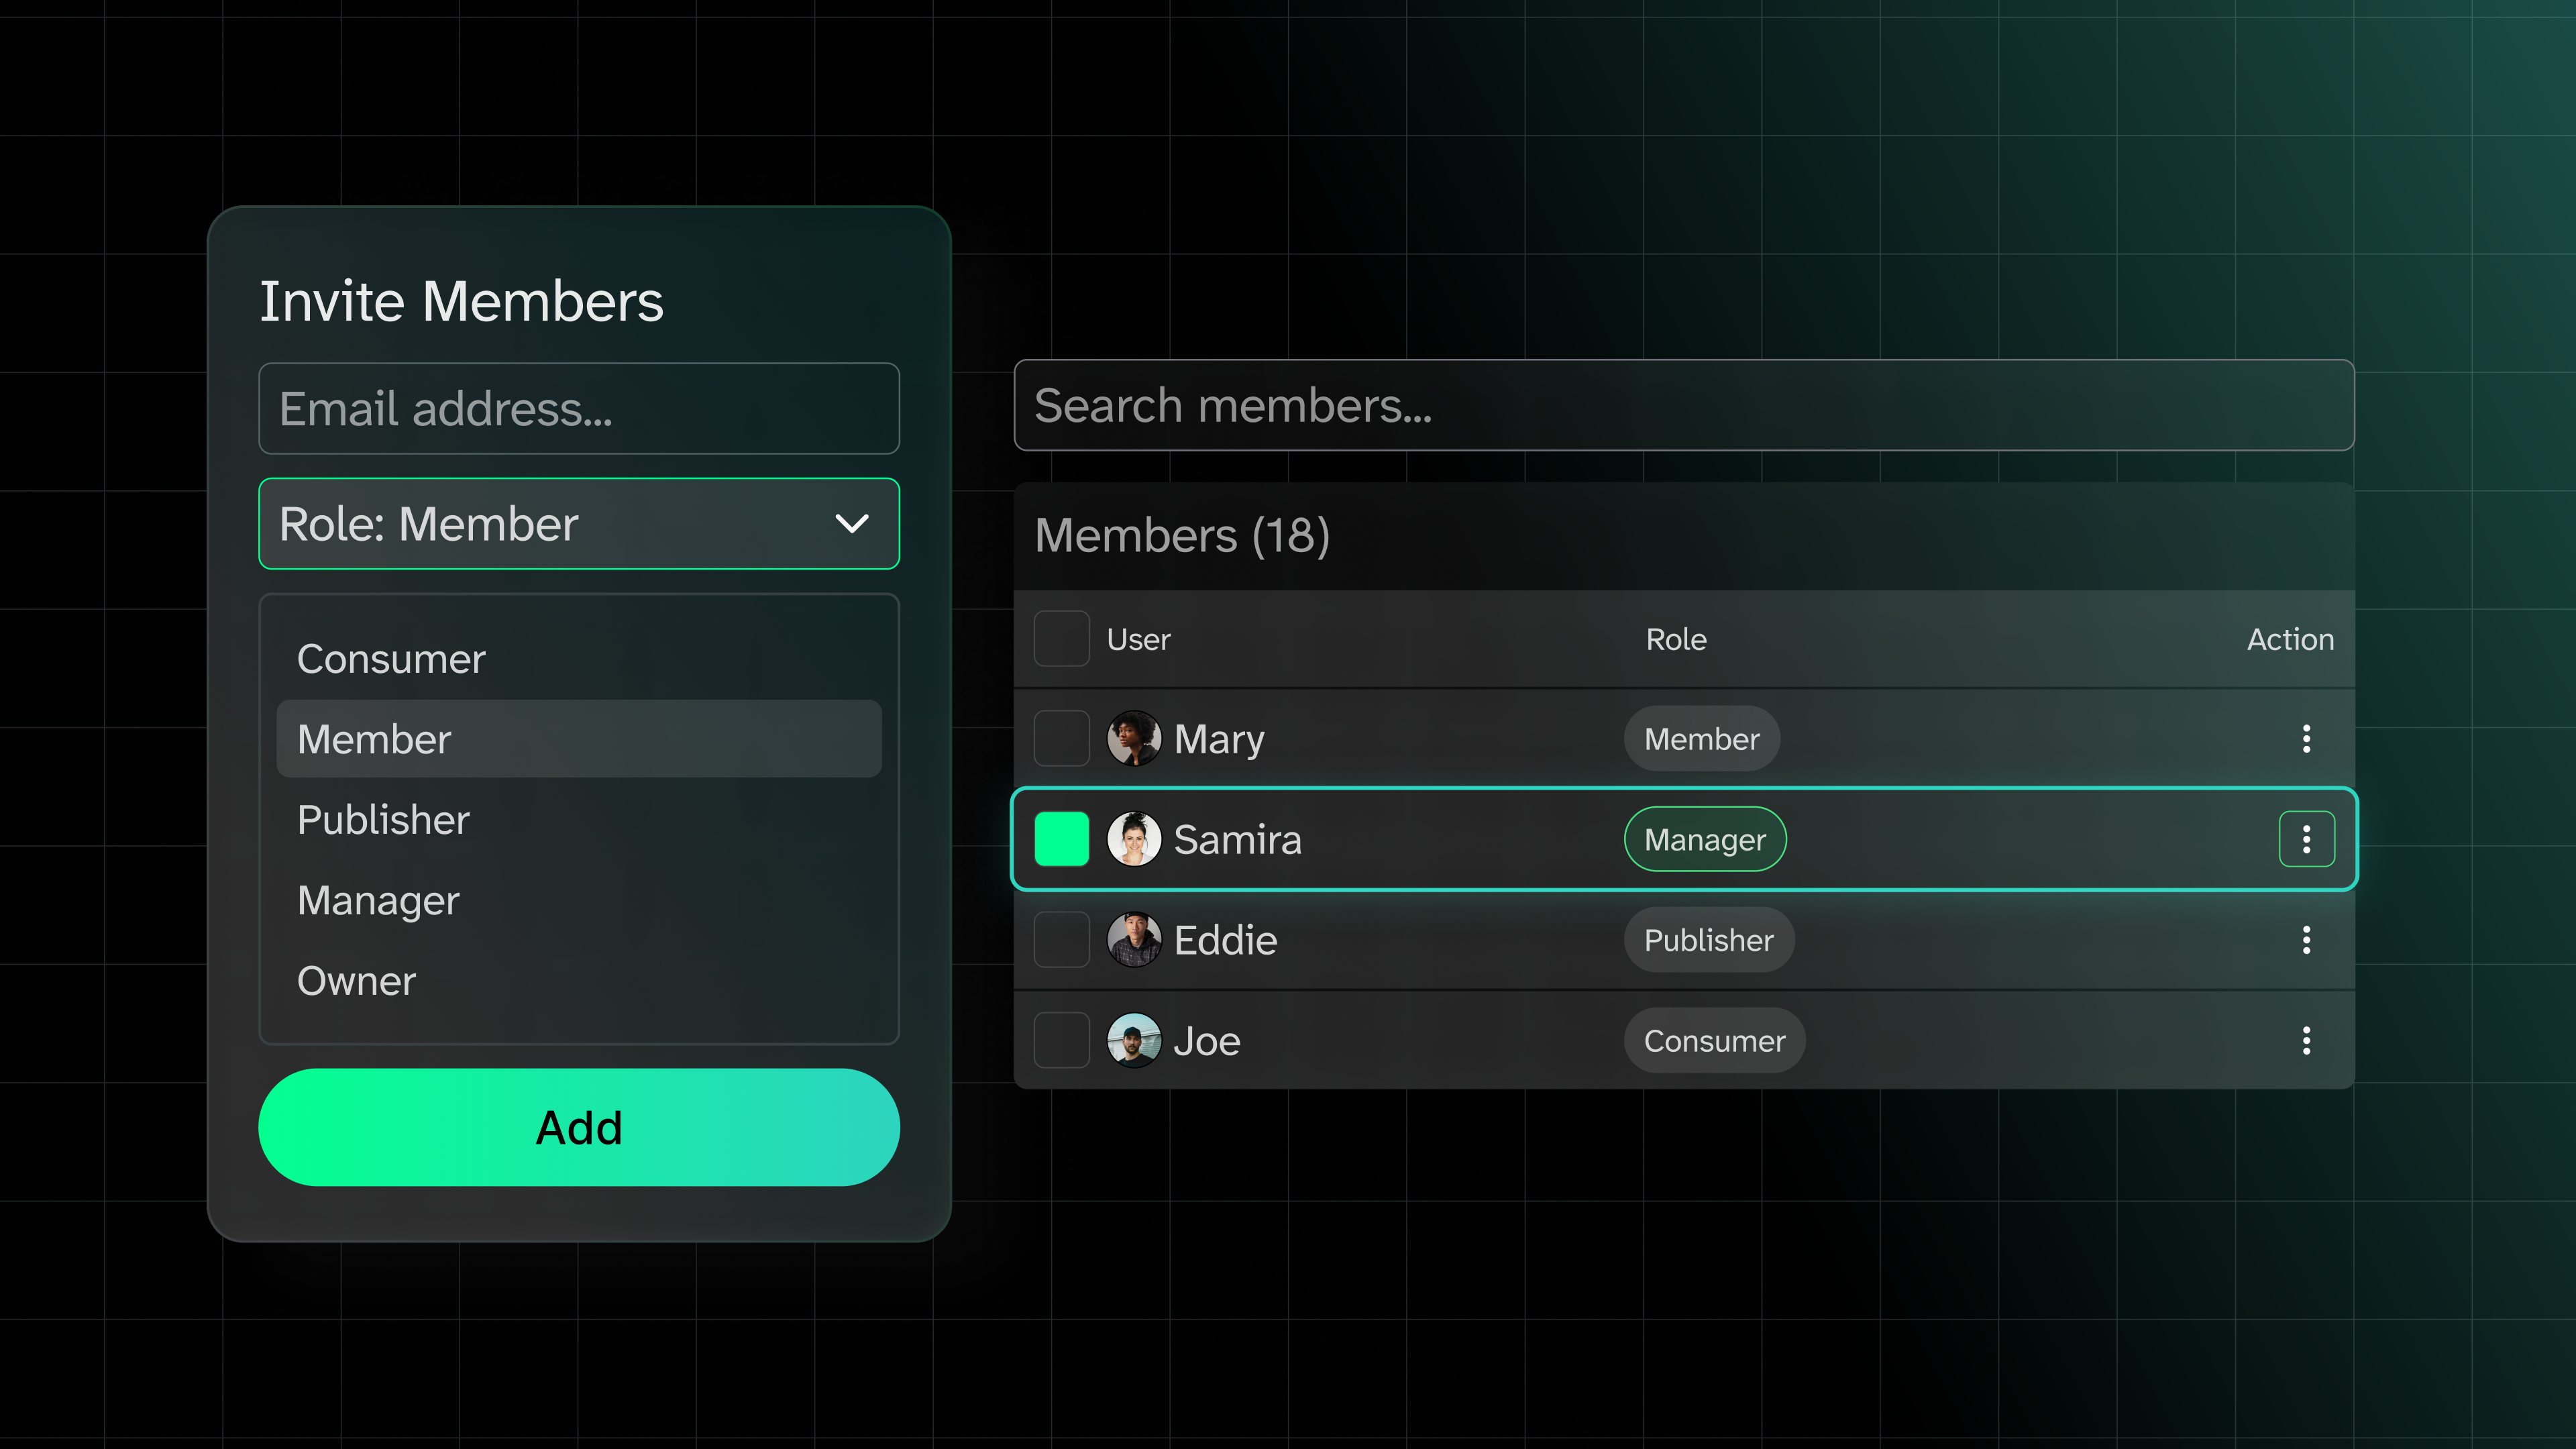
Click the workspace drop-down to navigate workspaces. Navigate to Members at the workspace level to specify Roles for users who require more capabilities within the workspace, such as running evaluations, publishing or managing users.
To modify a user, search for their name, select their checkbox, a role, and click the Add button.
Example role configurations for your team(s)
The following users demonstrate common configurations and roles that may be used when rolling Tessl out:
Samira - Org. Admin
Samira, the administrator and skills champion, needs the ability to manage all workspaces, the ability to assign users, and create new workspaces. Make her an Organization admin.
Eddie - Lead Engineer
Another user, Eddie, might be a member of an engineering workspace. He needs to be able to use plugins (skills) that have been published, but may need to have access to publish skills within the engineering workspace for others on his team. This could mean Eddie is the publisher role in certain workspaces. He may also be a Member role of other workspaces where he only needs to search and install from.
Jennifer - Manager
Jennifer may require the ability to add users to a workspace that she owns, publish, and possibly need the ability to remove other managers etc. Typically the workspace permission "Owner" or "manager" may be given to that user, depending on the need to remove other "owners" or delete workspace.
Joe - New hire engineer
Finally, Joe, a new hire, has the ability to search and install skills from the engineering workspace, but does not have the ability to share/create skills until later, after they’ve gained a little more experience. Joe would be made a member of “engineering” with just a “consumer” role.
Next steps!
Now that you have your users in, and assigned roles to the different workspaces, you and your users can:
- Start creating new skills
- Evaluate new or existing skill effectiveness through using Reviews, and Evals
- Publish those skills to the Tessl registry to share them for your users and agents
Let us know what you think! Tessl would love to hear from you through any one of our feedback channels (Discord, Email, CLI Feedback, etc)
COPY & SHARE
Shawn Miller
Technology enthusiast.
READING
·
0%
IN THIS POST
COPY & SHARE
Shawn Miller
Technology enthusiast.
YOUR NEXT READ
Analyzing your agent sessions with Tessl
Inspecting your agent sessions can help optimize skills by identifying friction points and verifiers during real-world usage, using tools like Tessl's behavior-audit skill.
Shawn Miller


